
 It seems only fitting that as I am in the midst of planning my son Eli’s second birthday party that I would just now get around to posting a tutorial from his first birthday party. I’ll spare you the excuses on why it has taken so long, since my intention was to share this tutorial months ago, but I will say that (in my opinion) this tissue fringe letter is every bit as trendy and relevant today as it was a year ago!
Based on a request from one of my readers, I have finally decided to share the step-by-step directions on how to create your own tissue fringe letter (or number). While the process may be a little tedious, it is an easy project that packs a big punch for any party theme. Plus, it can be re-purposed as a personalized element in your child’s room after the party.
Supplies
– Paper mache letter (I used a 12” letter from JoAnne Fabrics)
– Acrylic paint in your desired color
– Foam brush
– Tissue paper in your desired color(s)
– Rotary cutter
– Cutting mat
– Ruler
– Double sided tape
Directions
1. Coat the paper mache letter in your desired color of acrylic paint with a foam brush. The tissue fringe will only be applied to the front of the letter, so this base color will show through on the sides and back of the letter.
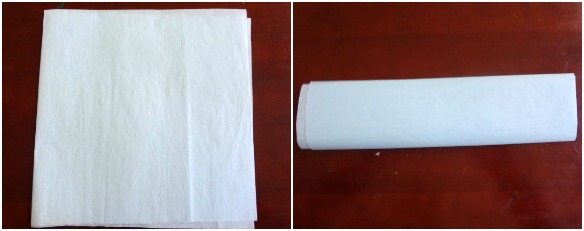 2. Next, lay out your tissue paper. Fold it in half, and then in half again so you have a folded edge on top side and left side of your paper. Now you will want to fold the paper horizontally to create as many long rectangular shapes that your paper will allow. The final width of the folded paper should be 2 – 2.5”.
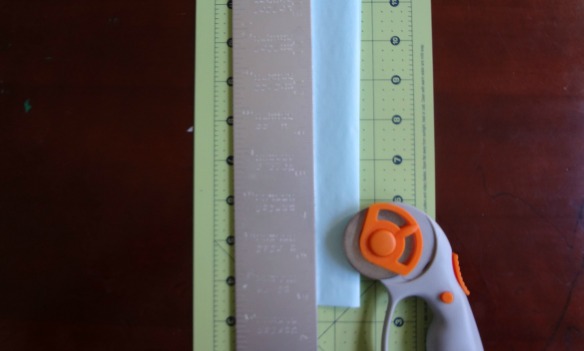 3. Use your cutting mat and ruler to measure out a width of 1.25” and slice the paper along the bottom edge, leaving the folded edge in tact at the top.
 4. Now you will begin cutting the paper fringe. Each paper slice is approximately 1″ long (making sure not to cut through the top) and spaced about .25″ apart. Repeat the steps for creating the tissue fringe with as many colors of tissue paper as you’d like. For reference, I used 15 strips of fringe in 4 different colors on my 12” letter E.
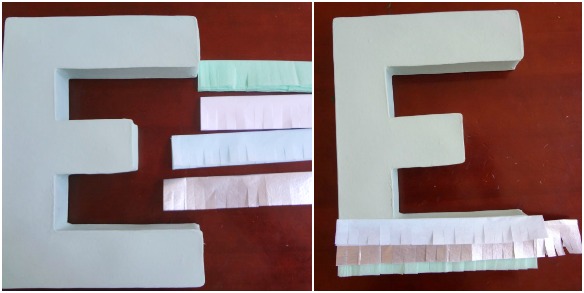 5. Now time for the fun part! Separate each strip of fringe and attach either double sided tape or photo mounting squares the back. Because of the fold at the top, each strip of fringe is double ply, so you will not be able to see the tape through it. Lay the strip as straight as possible on your letter, working from the bottom up. Trim the paper along the edges as you go.
6. Lay each new strip of fringe over the one below it, overlapping so the top of the strip below doesn’t show. Repeat and trim each fringe strip until the entire letter is covered. And voila, a perfectly adorable handmade decoration to coordinate with nearly any party theme!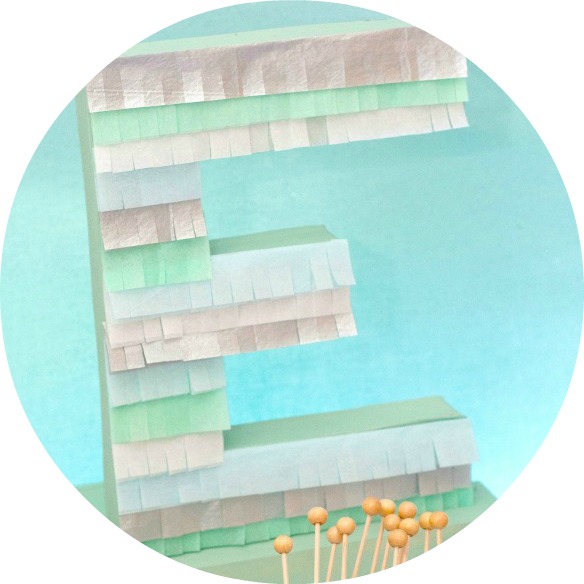
Thanks for taking the time to read through my tutorial! I hope you have as much creating your tissue fringe letter as I did. Happy party planning!


Very clever. I think i wil use thermocal…..I really liked the out of box idea.